Building Kitchen Cabinets Off The Wall - 10 Kitchen Cabinet Tips | DIY : But ken doesn't build them that way.. Label the location of the kitchen wall cabinets and appliances on the wall. Measure the distance between the ceiling and kitchen cabinets. Shelf thickness offers durability and its adjustable shelf design helps you maximize your storage space. Drawing level lines on the wall to represent the base. A good cabinet installation starts with a good layout.
If you need a refresher on how to take accurate measurements, watch our video on how to use a tape measure. If the cabinet isn't plumb, slip shims between the cabinet and wall at the stud lines and adjust as necessary. As you can see, after that was secure in the ceiling i was able to attach my header to that and the cabinets. Make sure to mark on the ceiling where these 2x4s are located so you can nail the crown molding into them. If the cabinet is not falling, it's still attached somewhere.
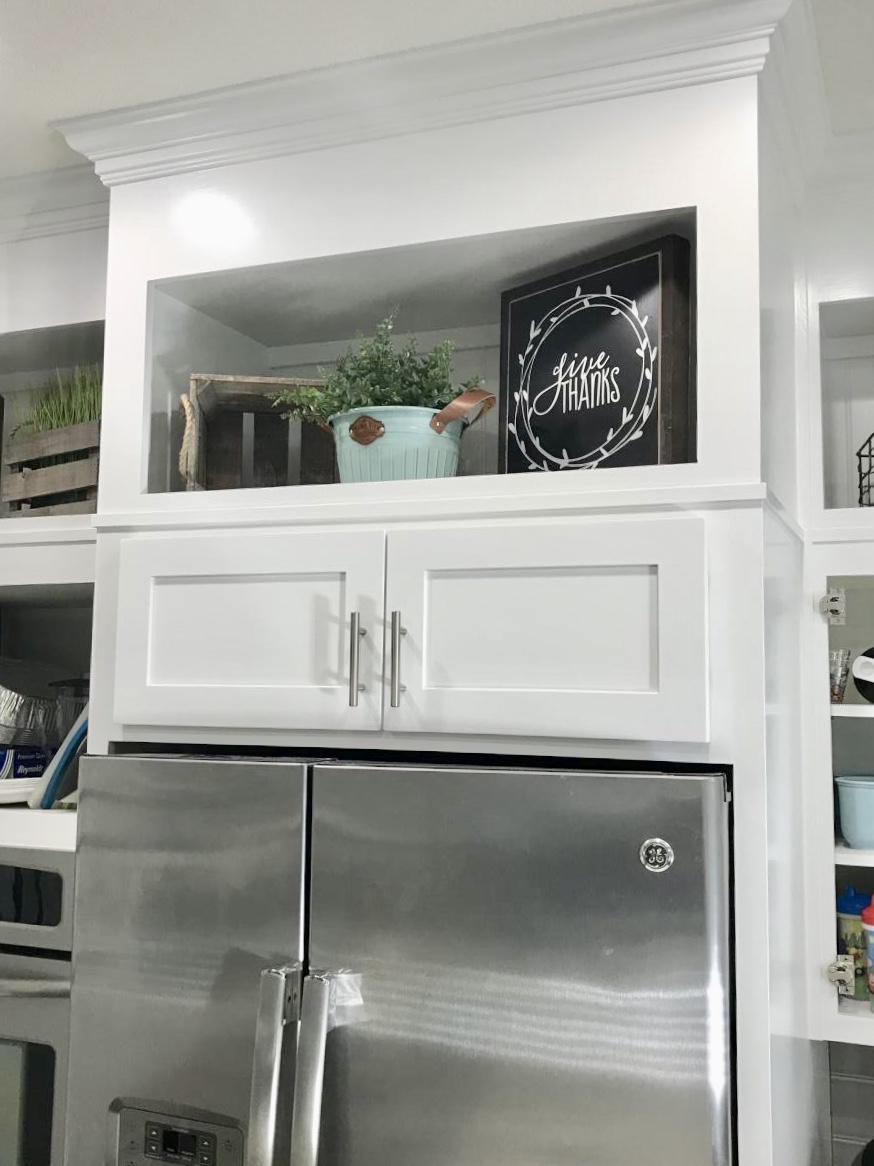
Kitchen Cabinets | Ana White from www.ana-white.com If the cabinet is not falling, it's still attached somewhere. With the plywood cut to size, your cabinet should take an hour and two to assemble. Browse 115 off the floor cabinets on houzz whether you want inspiration for planning off the floor cabinets or are building designer off the floor cabinets from scratch, houzz has 115 pictures from the best designers, decorators, and architects in the country, including exquisite kitchen design and kitchen art design. About press copyright contact us creators advertise developers terms privacy policy & safety how youtube works test new features press copyright contact us creators. Repeat this process for each cabinet until all wall cabinets are hung. Start with a corner wall cabinet place the corner wall cabinet on the screws or ledger. If you have removed all of the side screws and top screws from the cabinet, it should come off the wall easily. Even though it can fall forward, it's not slipping and sliding all over the wall.
Use a table saw to cut plywood strips for your face frame cabinets.
Instead, supports are used to keep the cabinet box square and sturdy, then the cabinet is closed off when the countertops are installed. If you plan on reusing the trim, then carefully detach it from the wall with the flat side of a screwdriver. When you detach wall cabinets, you will need assistance to pull the cabinet free and lower it to the floor. As you can see, after that was secure in the ceiling i was able to attach my header to that and the cabinets. Remove the trim, disassemble the cabinets, and disconnect them from the walls one at a time. Use a level to ensure your cabinets are installed accurately. Whether you need new kitchen cabinets, bathroom cabinets, or more storage in your garage or basement, the construction is the same. Crown molding of your choice 6. About press copyright contact us creators advertise developers terms privacy policy & safety how youtube works test new features press copyright contact us creators. When doing a project of this kind be sure to always read ikea directions and follow. (see below for a shopping list, tools, and steps.). But ken doesn't build them that way. Start with a corner wall cabinet place the corner wall cabinet on the screws or ledger.
Attach the cabinets to the wall by securing the back supports to the 1x6s we attached earlier. Paint the feet to match the cabinetry for the. Use a small finished nail nail the studs, every time. If you have removed all of the side screws and top screws from the cabinet, it should come off the wall easily. A ledger is a board that helps support the cabinetry as you work.
Creating Your Very Own Kitchen Cabinets | Kraftmaid Outlet from www.kraftmaidoutlets.net Drawing level lines on the wall to represent the base. Raise kitchen cabinets to ceiling. Crown molding of your choice 6. Once the cabinet is on the base you will notice the toe kick (overhang). The sample base and wall cabinets shown below have these features to make building them as simple as possible: These kitchen base cabinet ideas are ideal for both modern and vintage style homes. Attach the cabinets to each other, base and wall we lined the cabinets up in position and attached the cabinets to the base and the wall using wood screws. Measure the distance between the ceiling and kitchen cabinets.
Then, cut a piece of 1/4″ plywood to this size less a 1/4″ so you can easily move it into the space.
About press copyright contact us creators advertise developers terms privacy policy & safety how youtube works test new features press copyright contact us creators. A ledger is a board that helps support the cabinetry as you work. With some patience, you can remove these cabinets easily without hiring a professional. Remove the trim, disassemble the cabinets, and disconnect them from the walls one at a time. As you can see, after that was secure in the ceiling i was able to attach my header to that and the cabinets. If you have removed all of the side screws and top screws from the cabinet, it should come off the wall easily. Paint the feet to match the cabinetry for the. Drawing level lines on the wall to represent the base. Wall cabinets will have a top piece, but typically base cabinets that are topped off with a countertop do not have a top piece. Face frames cover plywood edges. Instead, supports are used to keep the cabinet box square and sturdy, then the cabinet is closed off when the countertops are installed. Once the cabinet is on the base you will notice the toe kick (overhang). Measure from the highest point in the floor and draw a level line marking the top of the base cabinets.
As you can see, after that was secure in the ceiling i was able to attach my header to that and the cabinets. Even though it can fall forward, it's not slipping and sliding all over the wall. Add plywood to the 2×2 frame above the cabinets. First, prepare the room by removing all your dishes, pots, and pans from the cabinets. I used a 1x10 piece of wood for this part.
Why do Architects Design a House with a Boiler in the Kitchen - The Kitchen Planner from thekitchenplanner.net Paint the feet to match the cabinetry for the. A good cabinet installation starts with a good layout. Raise kitchen cabinets to ceiling. But ken doesn't build them that way. Then, turn off the water and the power to your kitchen. Hampton bay hampton satin white raised panel stock assembled wall kitchen cabinet (30 in. The tops of your base cabinets should sit 34 1/2 inches off the floor, and the bottom of the wall cabinets should sit 19 1/2 inches above that. First, prepare the room by removing all your dishes, pots, and pans from the cabinets.
This old house general contractor tom silva helps a homeowner purchase and install a kitchen wall cabinet.
Hampton satin white raised panel stock assembled wall kitchen cabinet (30 in. Instead, supports are used to keep the cabinet box square and sturdy, then the cabinet is closed off when the countertops are installed. But ken doesn't build them that way. If you have removed all of the side screws and top screws from the cabinet, it should come off the wall easily. About press copyright contact us creators advertise developers terms privacy policy & safety how youtube works test new features press copyright contact us creators. Crown molding of your choice 6. Add plywood to the 2×2 frame above the cabinets. Repeat this process for each cabinet until all wall cabinets are hung. These kitchen base cabinet ideas are ideal for both modern and vintage style homes. If you plan on reusing the trim, then carefully detach it from the wall with the flat side of a screwdriver. This old house general contractor tom silva helps a homeowner purchase and install a kitchen wall cabinet. If you need a refresher on how to take accurate measurements, watch our video on how to use a tape measure. Attach the cabinets to the wall by securing the back supports to the 1x6s we attached earlier.